Tuesday 3 May 2011

Feathered Sashing Tutorial

I found it very intersting when Jenny kindly shared how she does her allover hook feathers at her blog – Jenny’s Doodling Needle  So I thought I would share one way I do feathers in wide sashing.

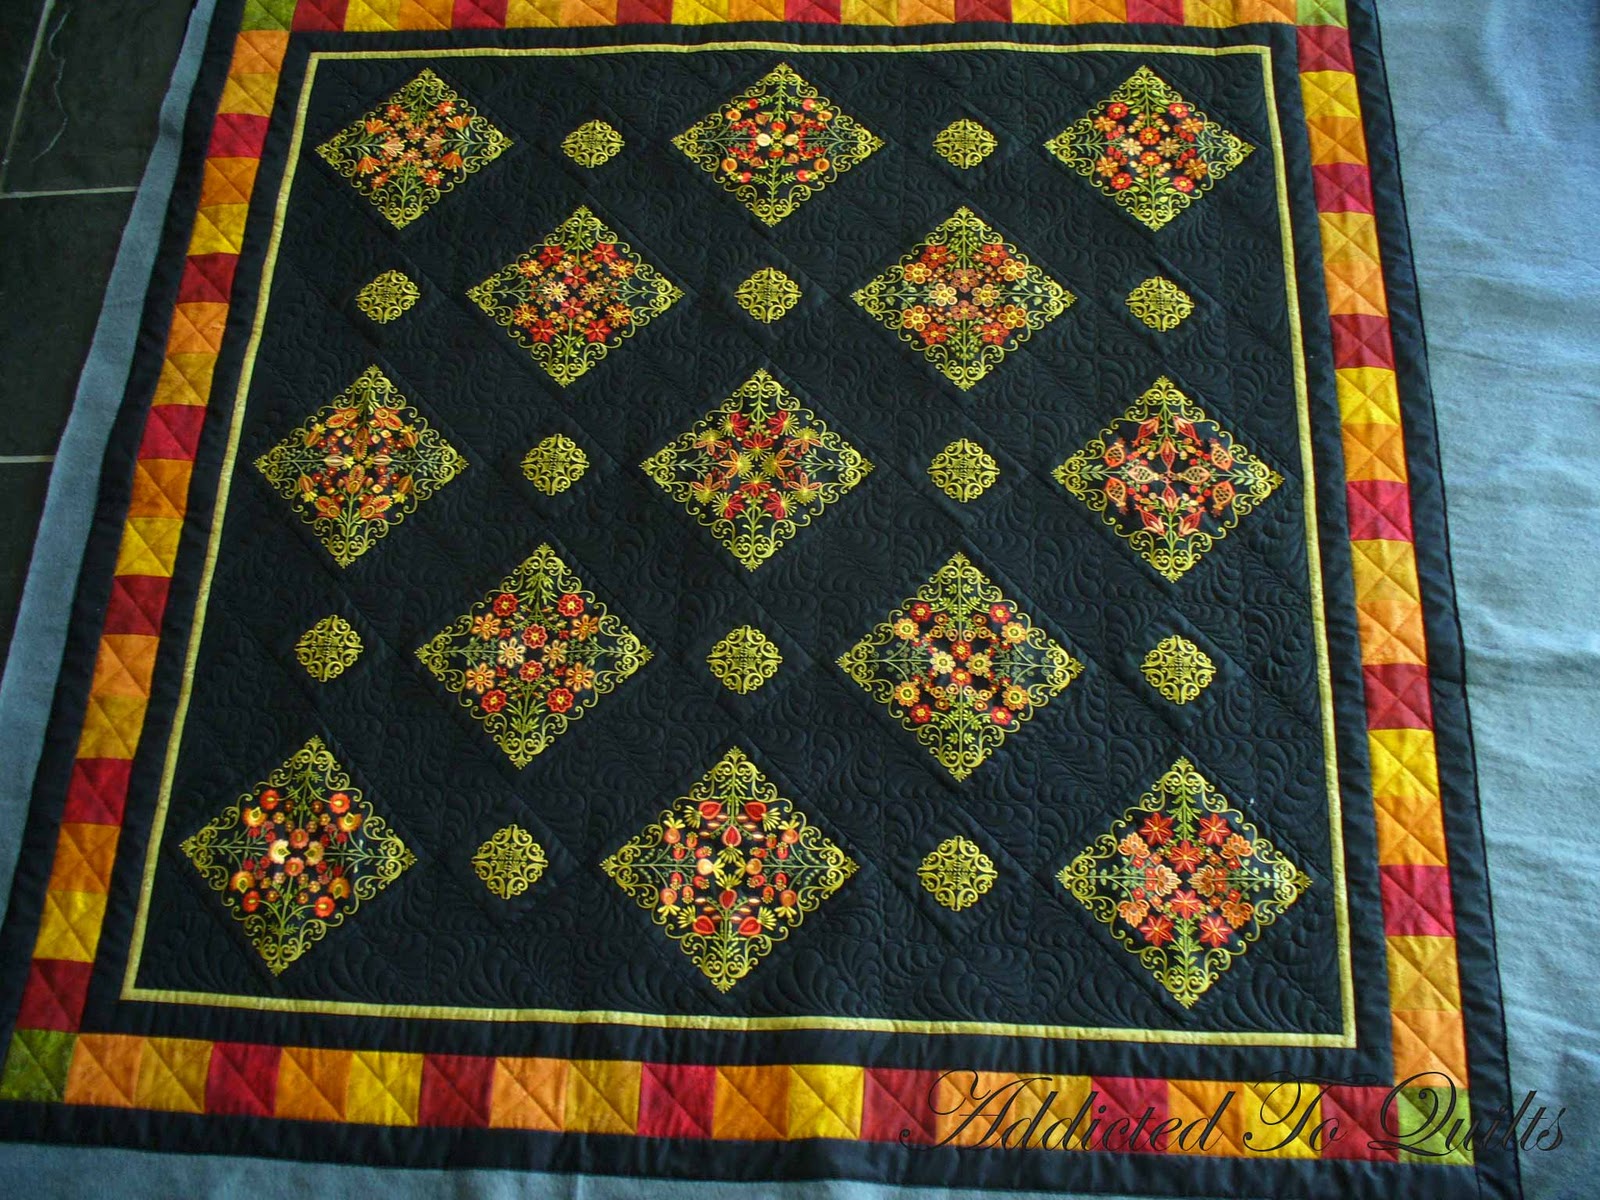
This is Janet Sansom’s quilt, and is a replica of a quilt I did for her earlier in the year.  If you want to see more pictures of this quilt click here.
 
To make each feather triangle first start with a circle, and then bring each feather up from the base line filling in the triangle. (You might need to click on some of the pictures to get a better view.)

 
Mark the half way point of the sashing.


Draw a line dividing the sashing into two squares.  For different sized sashing it could be broken down into more than just two squares.


Divide each square into quarters by drawing diagonal lines.


You can start at any point as the quilting will be done continuously.  Just be careful to make sure all the feathers go around each square in the same direction - in this case clockwise.


Start quilting the feather triangles.


Follow the path as per the arrows drawn.


When you get to the last square in the sashing row, go all the way around it and head back as shown by the arrows.


When you get back to the start, continue past it to quilt the other side of the sashing row.


Continue quilting the feather triangles following the path as shown by the arrows.


When you get to the end of the sashing row, go around the last square again and continue back to the starting point.


Roll the quilt forward to the next row of sashing, and start again.


8 comments:

  1. Oh thanks so much for sharing your work, which is beautiful as is the quilt!

    ReplyDelete
  2. That is fantastic Desley - thank so much for sharing - OH how I wish I had a big machine :) That quilt is beautiful...really is!!

    ReplyDelete
  3. I love that!!! I had not seen a sashing done that way before! Thanks for sharing... I will definitely try this out some day!

    ReplyDelete
  4. Thank you!!! That was an awesome, generous and detailed tutorial, Desley!! I hope that I can try that on a quilt when I get a one with a good sashing for it!! Also, I noticed you roll up your quilt top differently on the front roller than I was taught. I roll my top so that the wrong side of the quilt is showing on the roller, but I noticed yours is showing the right side of the quilt. Is your way better??? Easier to keep straight?? I'm so curious! :-)

    ReplyDelete
  5. Talk about great timing. I have been doing the Sit and Stare with our guild Mystery quilt with no idea how to approach them...they have very wide, odd shaped sashings. I like how you broke down the areas, that gives me a place to start. Thanks for the inspiration and instructions for his design.

    ReplyDelete
  6. Love the tutorial....I looked at your achives...all your quilting is beautiful. I just got a midarm...so I am totally new, but you are an inspiration.

    ReplyDelete
  7. beautiful quilting and very doable, thanks for sharing

    ReplyDelete
  8. Wow - thanks for sharing - I'm going to give this a try.

    ReplyDelete